REVIEW · SYDNEY
Sydney Photography Masterclass – Private Photography Lesson
Book on Viator →Operated by Aperture Tours · Bookable on Viator
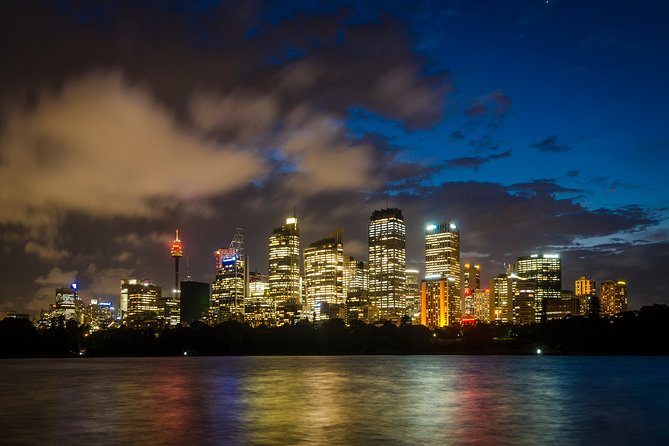
Sydney at night is a free camera workshop.
This private class is built for real streets and real lights, with a plan that moves you from Milsons Point toward the Harbour icons and then into the gritty, photogenic backstreets. I love that the lesson focuses on fundamentals you can use anywhere, not just getting one perfect shot. I also like the private format (up to four people total), so the guidance can match where you are with your camera.
You’ll cover aperture, ISO, and shutter speed in a way that makes sense when you’re standing in the right place at the right time. A possible drawback: because you’re learning while walking and shooting at night, it helps to be comfortable moving around uneven paths and stairs.
In This Review
- Key highlights at a glance
- Why This Private Sydney Lesson Is More Useful Than a Big Tour
- Meeting at Milsons Point: Start Where the Light Makes Sense
- Milsons Point to McMahons Point: Framing Before You Chase Icons
- Luna Park and the Harbour Bridge: The Exposure Triangle Gets Real
- Hickson Road Reserve to the Opera House: Night Settings That Hold Up
- Cahill Expressway and Mrs Macquarie’s Chair: Timing and the Right Spot
- The Rocks to Circular Quay: From Icons to Storytelling Details
- Reviewing Your Photos: How You Actually Improve in 3 Hours
- Price and What $186.48 Buys You (Not Just a Route)
- Camera, Tripod, and Practical Gear Tips for Night Shooting
- Is This Sydney Photography Masterclass for You?
- Should You Book This Private Sydney Night Photo Lesson?
- FAQ
- What is the duration of the Sydney Photography Masterclass?
- Is this a private tour?
- How much does it cost?
- Where does the tour start and end?
- What does the tour include?
- Is a camera or tripod included?
- What topics will I learn during the lesson?
- Is the tour suitable for most people?
- Can I get a refund if I cancel?
Key highlights at a glance
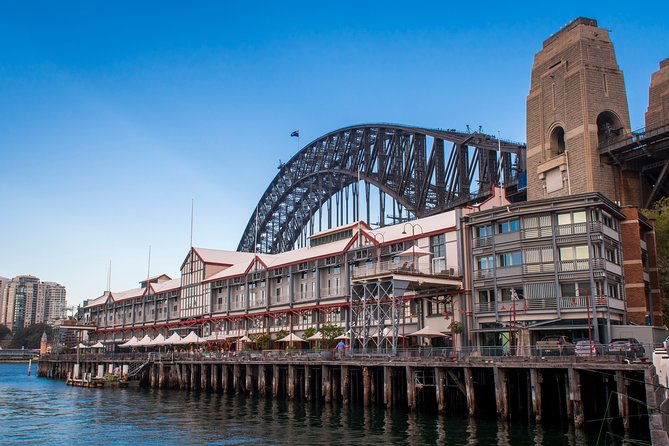
- Private, up to four people: your instructor can tailor settings and composition to your level
- Evening-first route: from Milsons Point and Luna Park to Opera House lighting and backstreets around the Rocks
- Exposure triangle taught outdoors: practical examples of real tradeoffs, not textbook diagrams
- Night photography techniques: settings and location ideas for the Harbour after dark
- Photo review included: you get feedback on what worked and what to try next
Why This Private Sydney Lesson Is More Useful Than a Big Tour
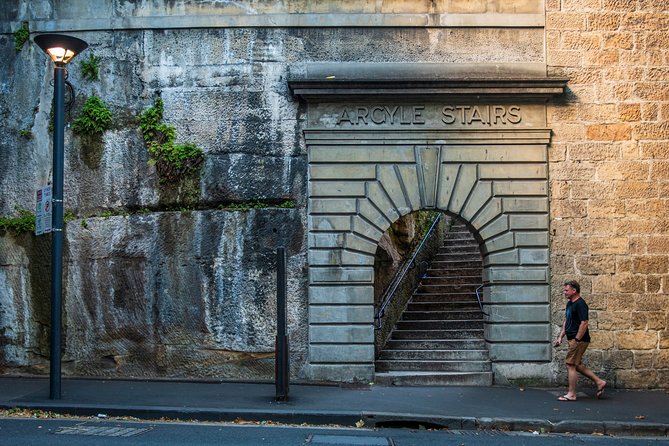
This is the kind of workshop that actually makes your camera make sense. You’re not just tagging along to landmarks. You’re learning the rules of exposure and composition while the scene keeps changing—Harbour light, neon from Luna Park, dark sky, bright edges on buildings.
The group size matters here. With a small private group, your instructor can slow down for questions, check your framing, and help you adjust settings fast. In a standard group tour, you’d usually be left to figure things out on your own.
The other thing I like is that the class ends with photography tuition and review. That means you don’t just walk away with a memory card full of maybes. You get a clearer direction for your next shoot, which is how you really improve.
You can also read our reviews of more private tours in Sydney
Meeting at Milsons Point: Start Where the Light Makes Sense
You meet at 41 Broughton St, Kirribilli (Milsons Point). It’s a smart starting point because you’re close to the Harbour action, but you’re not immediately trapped in the thick crowds. Starting here also helps if you want to practice quickly: you can test settings, check your shutter behavior, and see how the Harbour light affects your exposure.
Expect a prompt plan for the first part of the session: get your camera concepts aligned and then put them to work. The goal is to help you get your bearings fast—how to adjust exposure, how to frame, and what to watch before you press the shutter.
Your instructor (in past sessions, Glenn has guided the lesson for different ability levels) aims the session so both beginners and more advanced shooters can progress together. That’s a big deal if you’re traveling with someone who shoots on auto while you’re trying to nail manual.
Milsons Point to McMahons Point: Framing Before You Chase Icons
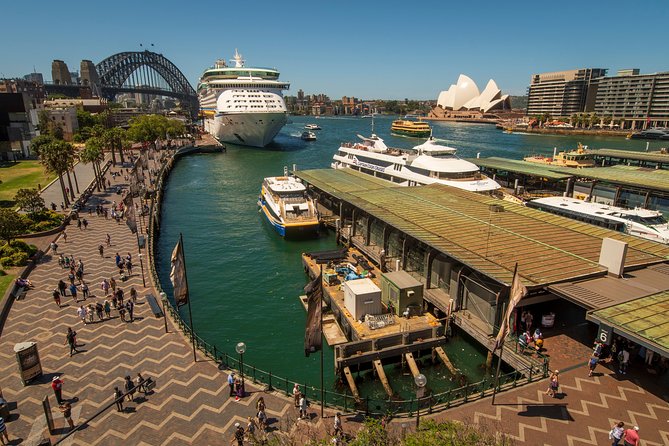
After the starting point, the route works like a warm-up. You’ll be moving between Milsons Point and McMahons Point, which gives you quick practice at the composition basics.
This is where the class’s framing lessons click. You’ll talk about:
- what to include (and why it supports the story)
- what to leave out (because night scenes can turn into visual clutter)
- how to position the camera so the subject sits in the frame the way your eye expects
Even if you think you already know composition, night scenes often trick you. Bright points can overpower everything else, and dark areas can swallow details. The instructor helps you control that before it becomes a guessing game.
Luna Park and the Harbour Bridge: The Exposure Triangle Gets Real
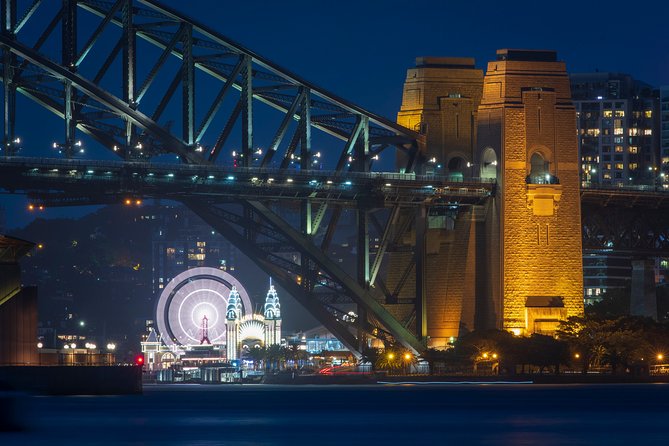
One of the best parts of the lesson is how it uses neon and bright edges to teach exposure. You’ll head to Luna Park and then toward the Sydney Harbour Bridge area, where contrast is intense and the light changes constantly.
This is where the exposure triangle stops being theory:
- Aperture affects depth of field and how much of the scene stays sharp
- ISO controls your sensitivity to light (and noise)
- Shutter speed controls motion blur and brightness
The lesson style is practical. Instead of saying use ISO 400 or use ISO 1600, you’ll see why you might choose one over the other, depending on whether you’re trying to freeze lights, smooth water, or keep a building crisp.
The Harbour Bridge area is also ideal for learning composition while moving. You’ll practice standing still, then adjusting your viewpoint slightly until the light lines up the way you want.
Hickson Road Reserve to the Opera House: Night Settings That Hold Up
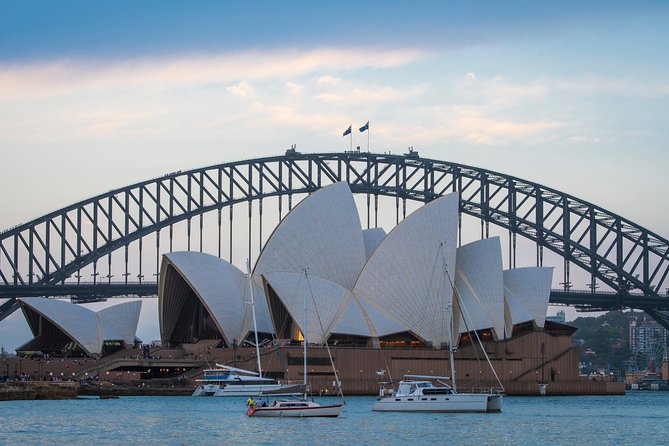
Next you’ll work toward Hickson Road Reserve and then Sydney Opera House. This is a classic “night photography test” location because you have bright architectural highlights and darker sky all in the same frame.
You’ll learn night photography techniques that are designed for what’s actually happening outdoors:
- how to avoid washing out the brightest parts
- how to keep the scene readable without turning it into a noisy mess
- how to choose settings that match the kind of shot you want
A practical takeaway is learning how to judge your exposure quickly. Instead of shooting dozens of random frames, you’ll start thinking: what’s my priority—bridge detail, opera glow, or water reflections? That mindset makes your results improve fast.
You can also read our reviews of more photography tours in Sydney
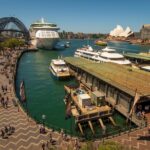
Cahill Expressway and Mrs Macquarie’s Chair: Timing and the Right Spot
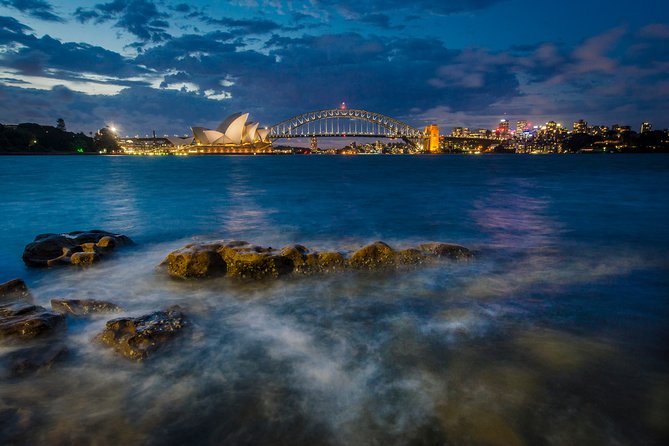
The route includes Cahill Expressway and then Mrs Macquarie’s Chair. These stops are useful because they teach the concept you hear everywhere, but rarely get taught properly: being in the right place at the right time.
Mrs Macquarie’s Chair is a strong spot for city light shots because of the viewlines you get there. But it’s also where you learn to refine your framing. Small changes in angle can shift the balance between foreground and skyline, and that’s often the difference between a photo that looks “okay” and one that feels intentional.
At this stage, you’re also likely thinking about stability. Night shots often require slower shutter speeds, which means technique matters. Even without a tripod included, you’ll get guidance on how to shoot more steadily and make the most of whatever support you have (or choose to rent a tripod).
The Rocks to Circular Quay: From Icons to Storytelling Details
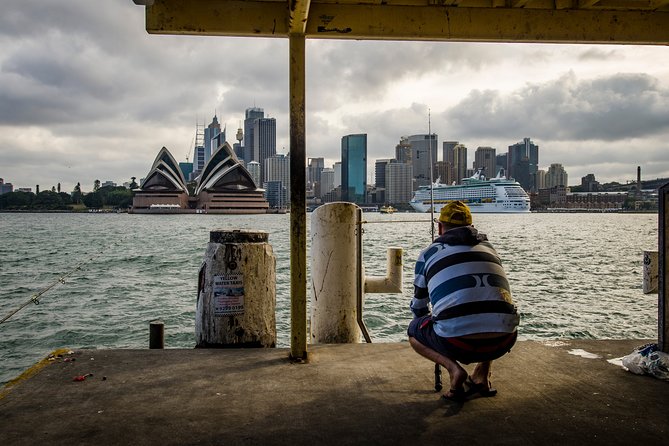
Then the tour turns inward toward the Rocks, with time around Circular Quay afterward. This shift is valuable because not every great Sydney photo is a postcard landmark.
The Rocks adds texture: street angles, building shapes, and the kind of lighting that makes night scenes look lived-in. You’ll practice composition choices like:
- where to place the horizon or skyline elements
- how to frame architectural details without losing the bigger context
- how to manage busy backgrounds so your subject still reads clearly
Circular Quay is a fitting finish because the Harbour theme comes back into focus. If you want to capture the Opera House and Harbour Bridge reflections or the way ferry movements change the scene, this area gives you plenty to work with during your final stretch.
Reviewing Your Photos: How You Actually Improve in 3 Hours
A key part of this experience is the photography tuition and review. That review time is where you learn fastest, because your instructor can point out patterns in your shots.
You’ll likely revisit:
- what settings you used when the shot worked
- how your framing choices affected the final image
- what to try differently next time (for example, if something came out too bright, too dark, or too noisy)
In one well-liked session, the instructor helped two people at different ability levels stay on track. That’s exactly what review time is for: it closes the loop between learning and results.
Even if you’re not planning to shoot professionally, this is the difference between collecting photos and building skill.
Price and What $186.48 Buys You (Not Just a Route)
At $186.48 per person for about 3 hours, this isn’t a random walking tour deal. You’re paying for:
- a professional photographer guide plus local guidance
- active tuition as you shoot (not just explanations at viewpoints)
- photo review, which helps you improve quickly
- a private setup for up to four people total, meaning the time is not diluted
Value here depends on how you like to learn. If you already know the exposure triangle and want location ideas only, you might find cheaper workshops. But if you want hands-on coaching for night settings and composition, this price starts to look reasonable because you’re effectively getting a focused lesson plus targeted shooting time.
Also, note the practical scheduling reality: this experience is often booked about 49 days in advance, which tells me it’s in demand. If you want a specific time window, it’s smart to plan ahead.
Camera, Tripod, and Practical Gear Tips for Night Shooting
Camera is not included, and a tripod is available to rent. If you’re bringing your own, good. If you don’t have one, consider renting, because night photography often benefits from stability and cleaner results.
If you don’t rent a tripod, you can still do well. The lesson format supports learning how to set up your shot and manage exposure without assuming you have perfect gear.
Here’s what I’d do to be ready:
- know how to change exposure settings quickly on your camera
- bring the memory space you need (night shooting can mean more test shots)
- if you’re renting a tripod, think about how you’ll carry it during the walk
Is This Sydney Photography Masterclass for You?
This fits best if you want to get better in a short time and you’re specifically interested in night photography. It’s also a good choice if you like landmarks but want more than a photo stop. The Rocks and Circular Quay elements make sure the lesson isn’t only about icons.
It might be less ideal if you want a purely relaxed sightseeing stroll with no focus on camera settings. This tour is built around learning exposure, framing, and night techniques while you move.
If you’re a confident shooter who already lives in manual mode, you’ll still likely appreciate the structured review and the location-based practice around Sydney’s Harbour lights.
Should You Book This Private Sydney Night Photo Lesson?
If you’re serious about learning night photography (or you’ve tried and your results look hit-or-miss), I think this is a strong booking. The private format keeps it responsive, and the session structure turns the city into an outdoor classroom from Milsons Point to the Rocks and Circular Quay.
If you’re budget-focused and just want a few photos for your feed, you could probably do a cheaper self-guided Harbour walk. But if you want your camera skills to jump forward in 3 hours, this one is built for that.
FAQ
What is the duration of the Sydney Photography Masterclass?
The experience runs for about 3 hours.
Is this a private tour?
Yes. It’s private, with only your group participating, up to four people in total.
How much does it cost?
It costs $186.48 per person.
Where does the tour start and end?
It starts at 41 Broughton St, Kirribilli NSW 2061, Australia. It ends back at the meeting point.
What does the tour include?
You get a professional photographer guide and local guide, plus photography tuition and review.
Is a camera or tripod included?
No. A camera is not included. A tripod can be rented.
What topics will I learn during the lesson?
You’ll cover understanding your camera (including aperture, ISO, and shutter speed), framing, night photography techniques and settings, how to get the right place at the right time, and how to review your photography.
Is the tour suitable for most people?
Most travelers can participate.
Can I get a refund if I cancel?
Free cancellation is available. You can cancel up to 24 hours in advance for a full refund, based on local time.
If you’d like, tell me your camera model and whether you shoot in auto, aperture priority, or manual. I can suggest what to focus on before you go so you’ll get more out of the 3-hour session.
You Might Also Enjoy
More Photography Tours in Sydney
More Private Tours in Sydney

More Tour Reviews in Sydney
- Blue Mountains Small-Group Tour from Sydney with Scenic World,Sydney Zoo & Ferry
★ 5.0 · 3,709 reviews