REVIEW · SYDNEY
Sydney Icons & Bondi Half Day Private Tour
Book on Viator →Operated by Cloud 9 Tours · Bookable on Viator
Four hours, nine Sydney icons, one great guide.
This private half-day tour strings together the city’s most famous sights, then keeps going out toward the coast. You’ll start in The Rocks to get the founding-and-convict-era story of Sydney, then work through big-ticket landmarks like the Sydney Opera House and Mrs Macquarie’s Chair before finishing with Watsons Bay, The Gap, and Bondi Beach.
What makes this outing feel good is the control. You can choose a morning or afternoon departure, your guide can tailor the route to your interests, and you get pickup and drop-off at a location that suits you. It’s a smart way to see a lot of Sydney without turning your day into a transit scavenger hunt.
Two things I’d highlight right away: the pickup at your chosen spot (no awkward meet-up logistics) and the way the schedule is built around short, high-impact photo stops at the Opera House, Harbour Bridge, and Mrs Macquarie’s Chair. One thing to consider: at roughly 4 hours, time at each stop is limited, so this isn’t the tour for people who want to linger for ages at just one place.
In This Review
- Key things to know before you go
- A private half-day loop that saves your energy
- Pickup and comfort: less stress, more sightseeing
- The Rocks: convict-era roots you can actually picture
- Sydney Harbour Bridge: the short stop that delivers big photos
- Macquarie Street, Queen Victoria Building, and St Mary’s Cathedral
- Sydney Opera House steps: views, photos, and the right pacing
- Mrs Macquarie’s Chair: a viewpoint that feels like a reward
- Watsons Bay and The Gap: cliffs and coastal walks
- Bondi Beach: coffee, ice cream, and toes-in-the-sand time
- The flexible part: how tailoring can change your experience
- Price and value: why $650 can make sense
- Who this tour fits best (and who it may not)
- Should you book this Sydney Icons & Bondi Private Tour?
- FAQ
- How long is the Sydney Icons & Bondi half-day private tour?
- Do I get pickup and drop-off?
- What is included in the tour price?
- Are food and drinks included?
- Can I choose a morning or afternoon departure?
- Are there admission fees for the stops?
- Does the tour run in all weather conditions?
- Is this tour private?
Key things to know before you go
- Private guide, private pacing: It’s just your group, and your guide adjusts as you go.
- Pickup and drop at your choice: Start where you’re staying or nearby.
- Icon stops built for photos: Bridge, Opera House steps, Mrs Macquarie’s Chair.
- Scenic coastal finish: Watsons Bay walk, The Gap cliffs, then Bondi Beach.
- Admission-free viewpoints: The stops are listed as ticket free, so you’re not paying extra on the route.
- Weather-ready plan: It runs in all weather, so you’ll want to dress for wind and sun.
A private half-day loop that saves your energy
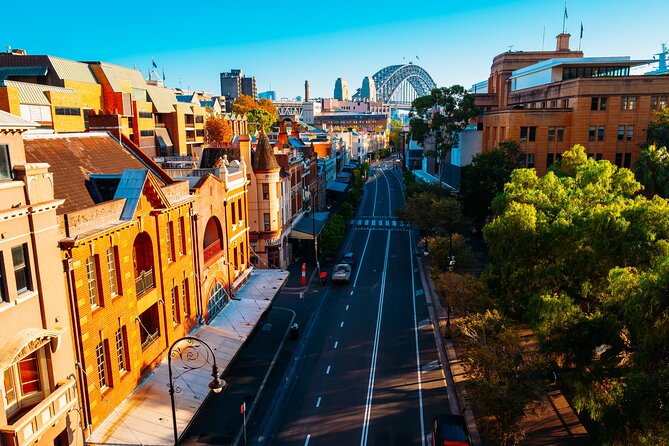
The biggest value here is simple: you get a private, guided loop that connects Sydney’s center to its most famous beach neighborhoods in about 4 hours. That time matters when you’re on limited vacation days. You’re not spending the day figuring out how to route buses, trains, and parking. Instead, you’re moving with a plan that hits the landmarks people actually come to Sydney to see.
You also get morning or afternoon flexibility. If you like brighter daylight for photos, afternoon can work well. If you prefer a quieter start and less crowd pressure, morning often feels easier. Either way, you’ll be working through the same key areas: Rocks and the CBD first, then the harbor viewpoints, and finally the coast.
Because this is a private tour, your guide can keep you on the main storyline—or shift focus. If you’re more into architecture, you’ll likely get more time around the CBD landmarks and government-style buildings along Macquarie Street. If you’re more into views and seaside scenes, you’ll spend your time where the harbor meets the cliffs and the beach.
You can also read our reviews of more private tours in Sydney

Pickup and comfort: less stress, more sightseeing
This tour includes a late model, air-conditioned vehicle and bottled water. That sounds small, but it’s a big deal in Sydney, where weather can swing from warm to breezy fast. Having AC transport means you can arrive to each stop with less fatigue, and the water keeps you from needing to spend your limited time hunting for drinks.
The other practical win is pickup and drop-off at a location of your choice. That means you don’t have to drag your day along to a fixed meeting point far from where you’re staying. If you’re in the city center, you’ll likely save time. If you’re outside the core, it can still be a relief because the guide meets you where you are.
You’ll also get a mobile ticket, which is useful when you’re juggling phone screens, Wi‑Fi, and last-minute itinerary changes.
The Rocks: convict-era roots you can actually picture
Your first stop is The Rocks, and the focus is Sydney’s early beginnings—especially the convict history tied to the area. Even if you’ve only studied the basics, a guided walk-through here helps you connect what you see today with what the place used to be.
The Rocks tends to work best when you go in with curiosity and a willingness to look at the small details: older building lines, street angles, and how the neighborhood sits right by the harbor. This isn’t a long stop, but it’s long enough to get the story and then move on with context. The payoff is that later harbor viewpoints and CBD buildings make more sense because you’ve started with how Sydney formed.
This stop is listed as free of admission ticket fees, so you can focus on the guide’s explanation rather than planning around ticket windows.
Sydney Harbour Bridge: the short stop that delivers big photos
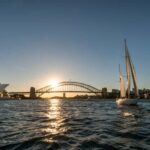
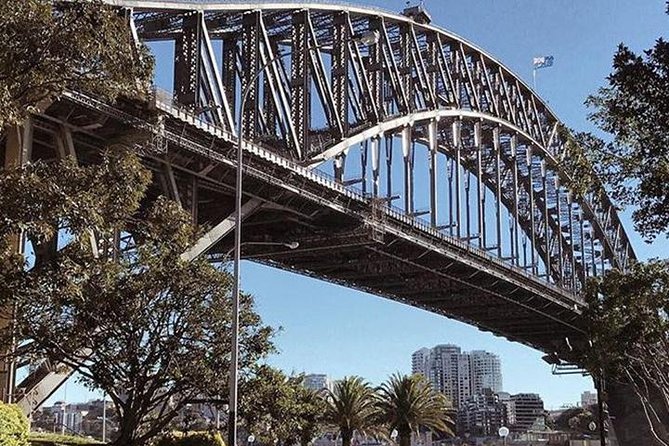
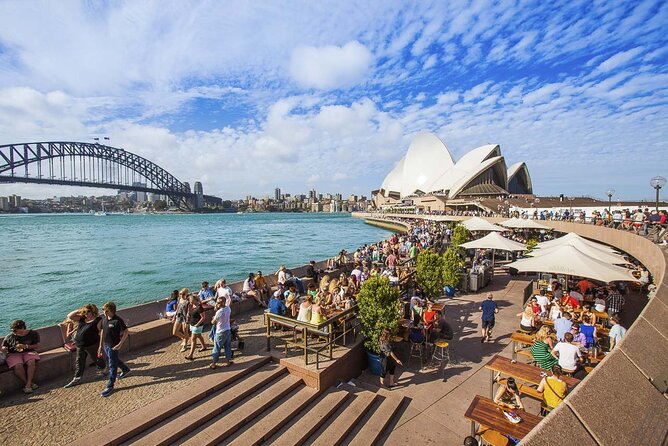
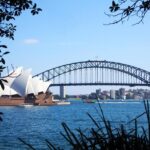
Next up is Sydney Harbour Bridge, with a dedicated stop for photos. Fifteen minutes isn’t meant for a long exploration. It’s meant for you to get the iconic view and do the thing you came for: the photos.
Here’s the trick: treat your first bridge moments like a mini photo session. Get one wide shot that includes the bridge and harbor water. Then try a second angle that emphasizes the structure. If you’re traveling with someone, coordinate quickly before people pass between you and the best viewpoint.
Also, keep an eye on wind. Bridge areas can get gusty, and the coastal breeze can make you feel colder than you expect—even when the day is sunny.
Admission is listed as free at this stop, so you’re not paying extra just to see the landmark.
Macquarie Street, Queen Victoria Building, and St Mary’s Cathedral
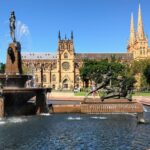
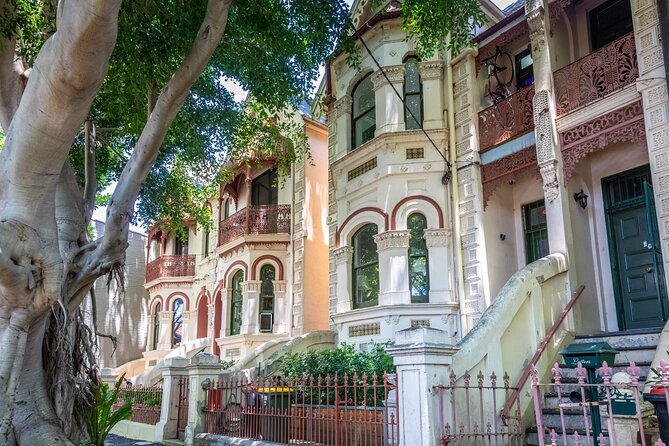
From there, the tour pivots to Sydney’s CBD architecture. You’ll see prominent historic buildings along Macquarie Street, including the Queen Victoria Building and St Mary’s Cathedral.
This part is great if you enjoy the visual language of older cities: grand facades, formal building shapes, and the way major institutions sit in the urban plan. The Queen Victoria Building is especially photo-friendly because it’s built to impress from street level. St Mary’s Cathedral gives you a different angle—more solemn, more vertical, and very recognizably Sydney.
A practical note: CBD stops can include a mix of walking and viewing from outside. That means you can keep your pace without needing long indoor time. If you’re someone who hates shopping-heavy distractions, you’ll likely appreciate that the tour keeps you moving through the highlights.
- Blue Mountains Small-Group Tour from Sydney with Scenic World,Sydney Zoo & Ferry
★ 5.0 · 3,709 reviews



Sydney Opera House steps: views, photos, and the right pacing
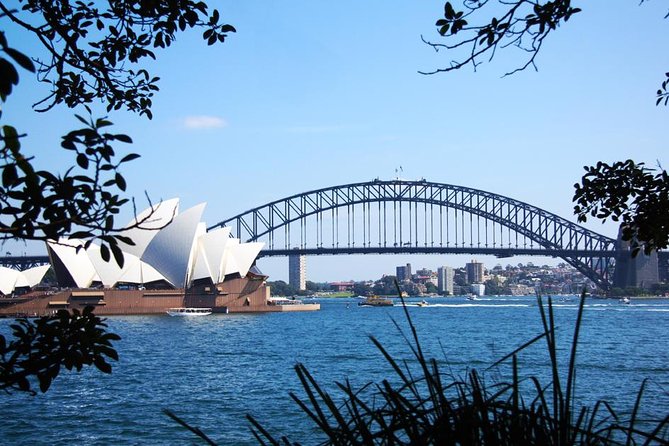
Then comes Sydney Opera House, with a stop designed for walking up to the landmark and enjoying the views. You’ll have about fifteen minutes, and that’s enough for the classic angle: you, the harbor behind you, and the iconic steps.
This is one of the best “first-time in Sydney” moments because the Opera House photos actually work from multiple angles. If you want that all-important selfie-style shot, stand where the building frames nicely and let the harbor do its job in the background.
The practical value here is timing and coaching from your guide. They can point out where the view looks best and how to position for pictures without wasting time guessing. One of the most praised aspects of this tour is that guides like Greg and Chris are friendly and personable while still packing in the must-sees. That matters at Opera House, where everyone wants the same picture.
Admission is listed as free for this stop, which helps keep the cost under control.
Mrs Macquarie’s Chair: a viewpoint that feels like a reward
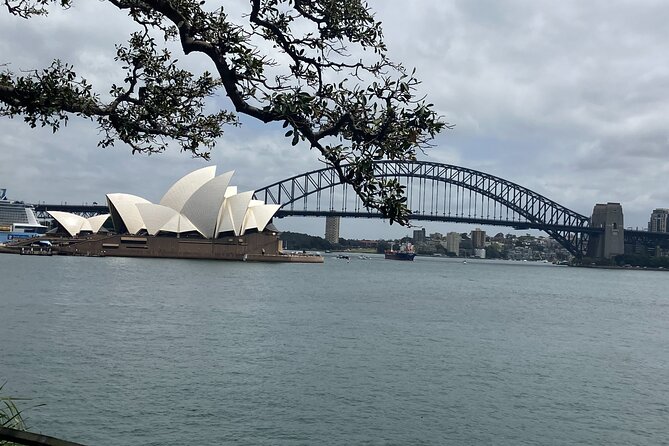
After the Opera House, you’ll head to Mrs Macquarie’s Chair for amazing harbor views. This is one of those stops that feels like a payoff. You’ve done the iconic building photo; now you get the panoramic harbor perspective.
The stop is about fifteen minutes, so don’t plan to treat it like a long hike. Instead, think of it as your moment to slow down, take in the water, and confirm the layout of Sydney in your head. When you later look at harbor photos at night or from a different angle, you’ll have a mental map.
If the wind is up, move quickly to your viewpoint and then settle for photos. That’s also a good spot to check your phone battery, because coastal views often mean lots of pictures.
Watsons Bay and The Gap: cliffs and coastal walks
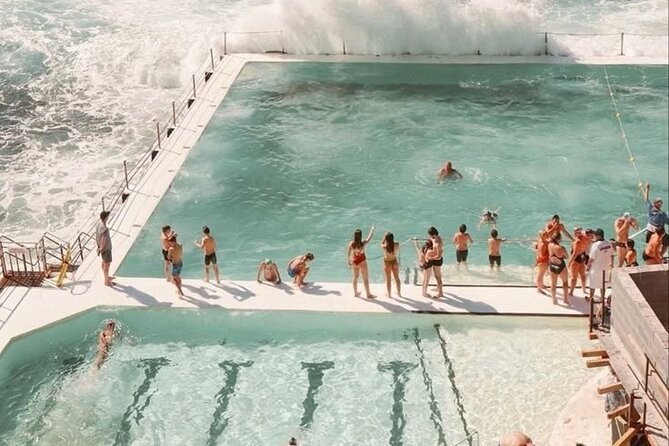
Now you swing from harbor landmarks into the coast. Watsons Bay is next, with a short coastal walk around thirty minutes. This is where the air changes. You get more sea breeze and a different kind of scenery—less “city postcard,” more “coastal neighborhood.”
The short walk is exactly right for a half-day format. You’re not committing to a full hike, but you are stretching your legs and getting better scenery than you’d get just from sitting in a car.
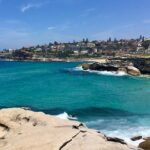
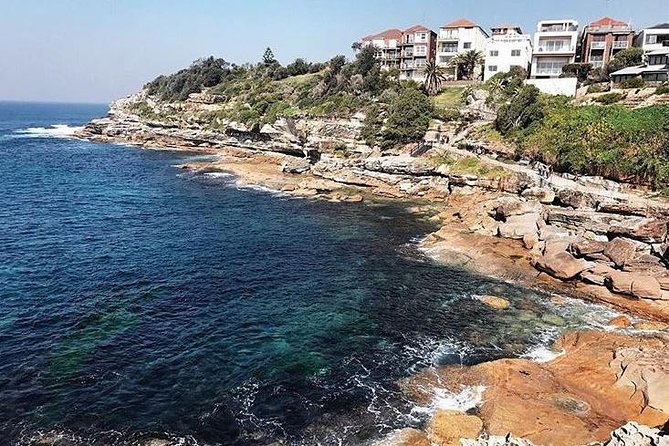
Then comes The Gap (Gap Park), described as huge sandstone cliffs at the entrance to Sydney Harbour, with a short walk as part of the visit. This is a must when you want to understand why Sydney’s harbor is so famous. You see the geography that shapes the coastline and forms that dramatic cliff edge.
The Gap is often windy and bright. Dress accordingly. Bring sunglasses. If you’re prone to cold, add a light layer because the breeze can cut.
Bondi Beach: coffee, ice cream, and toes-in-the-sand time
Finally, the tour reaches Bondi Beach, about thirty minutes. This is your beach moment, and it’s intentionally short. You’ll have time to dip your toes in the water and enjoy Bondi’s “like the locals do” vibe with coffee and ice cream.
Because food and drinks aren’t included, you’ll want to plan how you’ll handle that. If you’re the type who needs a morning snack or an afternoon caffeine hit, you’ll be glad you’ve kept a bit of space in your schedule for it. The tour duration is tight, so deciding ahead of time whether you want a quick drink or a longer treat can help you avoid rushing.
Bondi is also a place where you can take photos fast and still enjoy yourself. Get a couple of wide shots, then walk a little and let the beach do its thing. Thirty minutes can feel short, but it’s enough for a classic introduction to Bondi without losing the day to crowds or long lines.
The flexible part: how tailoring can change your experience
The itinerary is structured, but it’s not fixed in a rigid way. Your guide can tailor the tour to your interests, and that flexibility shows up most at the “stop timing” level. For example, if you care less about architecture and more about views, your guide can help you spend more time where the harbor and coastline are doing the heavy lifting.
Flexibility is also useful when you arrive at a stop and the light is wrong or the viewpoint feels too crowded. A good guide can adjust your order or manage your time so you still get the best version of what you came for.
This is also where private guiding beats group tours. When you have a crowd, you often get dragged along. Here, you can keep your pace and ask for small changes on the fly.
Price and value: why $650 can make sense
At $650 per person for a private half-day, this isn’t a budget activity. The value hinges on what you want from your Sydney time.
You’re paying for:
- A private guide and a tailored approach
- Pickup and drop-off at your choice
- A late model air-conditioned vehicle
- Bottled water
- A route that packs multiple top-tier icons into about four hours
- Stops that are listed as admission ticket free
If you’re traveling as a solo person, it will feel steep compared with public-transport touring. But if you’re a couple, a family group, or a small set of friends who want less hassle and faster sightlines, it starts to feel more reasonable. You’re essentially buying speed, comfort, and a single “person in charge” who knows where to take you next.
Also, the reviews emphasize that guides like Greg and Chris do a great job packing in the must-sees while keeping things friendly and at your pace. That’s the kind of practical value you can’t always predict from a simple list of stops.
My rule of thumb: if you want an efficient Sydney orientation and you hate logistical stress, the price can work. If you love wandering independently and you’re okay stitching together transport on your own, you may find cheaper options.
Who this tour fits best (and who it may not)
This tour is a strong fit for:
- First-timers who want a fast introduction to Sydney’s icon circuit
- People who want photo-ready viewpoints without spending time researching them
- Travelers who appreciate a private guide who can keep the pace comfortable
- Anyone who wants to combine CBD sights with Bondi and the coastal edge in one go
It may feel less ideal if:
- You want long stays at just one place (this route is built for highlights)
- You’re very price-sensitive and prefer self-guided travel
- You don’t like short walking segments, since the tour includes short walks at Watsons Bay and The Gap
Should you book this Sydney Icons & Bondi Private Tour?
I’d book it if you want the classic Sydney highlights—Opera House, Harbour Bridge, The Rocks, and then the coastal finale—done in one organized half-day with pickup at your place and a guide who keeps things moving. The best part is how the route creates context: you start with the early story of Sydney, then you see the modern icons, then you finish where the city meets the sea.
I’d pause before booking if you’re the type who needs lots of time at viewpoints or you’d rather roam slowly on your own. In that case, you might prefer independent sightseeing and building your own route.
If you’re trying to make the most of limited time, this tour is built for exactly that.
FAQ
How long is the Sydney Icons & Bondi half-day private tour?
It runs for about 4 hours.
Do I get pickup and drop-off?
Yes. Pickup and drop-off are offered at a location of your choice.
What is included in the tour price?
Included are a late model air-conditioned vehicle, a local private guide, pickup and drop-off at your chosen location, bottled water, and a flexible itinerary tailored to your interests.
Are food and drinks included?
No. Food and drinks are not included.
Can I choose a morning or afternoon departure?
Yes. You can choose from morning or afternoon departure.
Are there admission fees for the stops?
The stops listed are marked as admission ticket free.
Does the tour run in all weather conditions?
Yes. It operates in all weather conditions, so dress appropriately.
Is this tour private?
Yes. It’s a private tour/activity, and only your group participates.
You Might Also Enjoy



More Private Tours in Sydney

More Tours in Sydney
- Blue Mountains Small-Group Tour from Sydney with Scenic World,Sydney Zoo & Ferry
★ 5.0 · 3,709 reviews

More Tour Reviews in Sydney
- Blue Mountains Small-Group Tour from Sydney with Scenic World,Sydney Zoo & Ferry
★ 5.0 · 3,709 reviews